User Manual
Output Organizer: What's it all about? Often, when creating documents to send to customers, there's the need to create a single PDF document from multiple input documents assembled from multiple locations. Typically, you would like to arrange several input documents in a desired order, remove pages, redact sensitive data and probably highlight or annotate important lines.
All this can easily be done with Output Organizer. This document explains how to do this:
- Import documents
- Arrange documents
- Arrange pages
- Annotate and redact documents
- Toolbar functions
- Export
Pause and resume work ℹ️ Only available in Output Organizer ADVANCED
Output Organizer ADVANCED allows you to pause your work and resume it later. The current state is persisted and allows resuming work exactly where you left off. This feature is particularly useful for long document processing sessions or when you need to step away from your work temporarily.
Note: ℹ️ The save button-functionality is only available in Output Organizer ADVANCED. In this variant, administrators can enable or disable the save feature according to organizational requirements.
Import documents
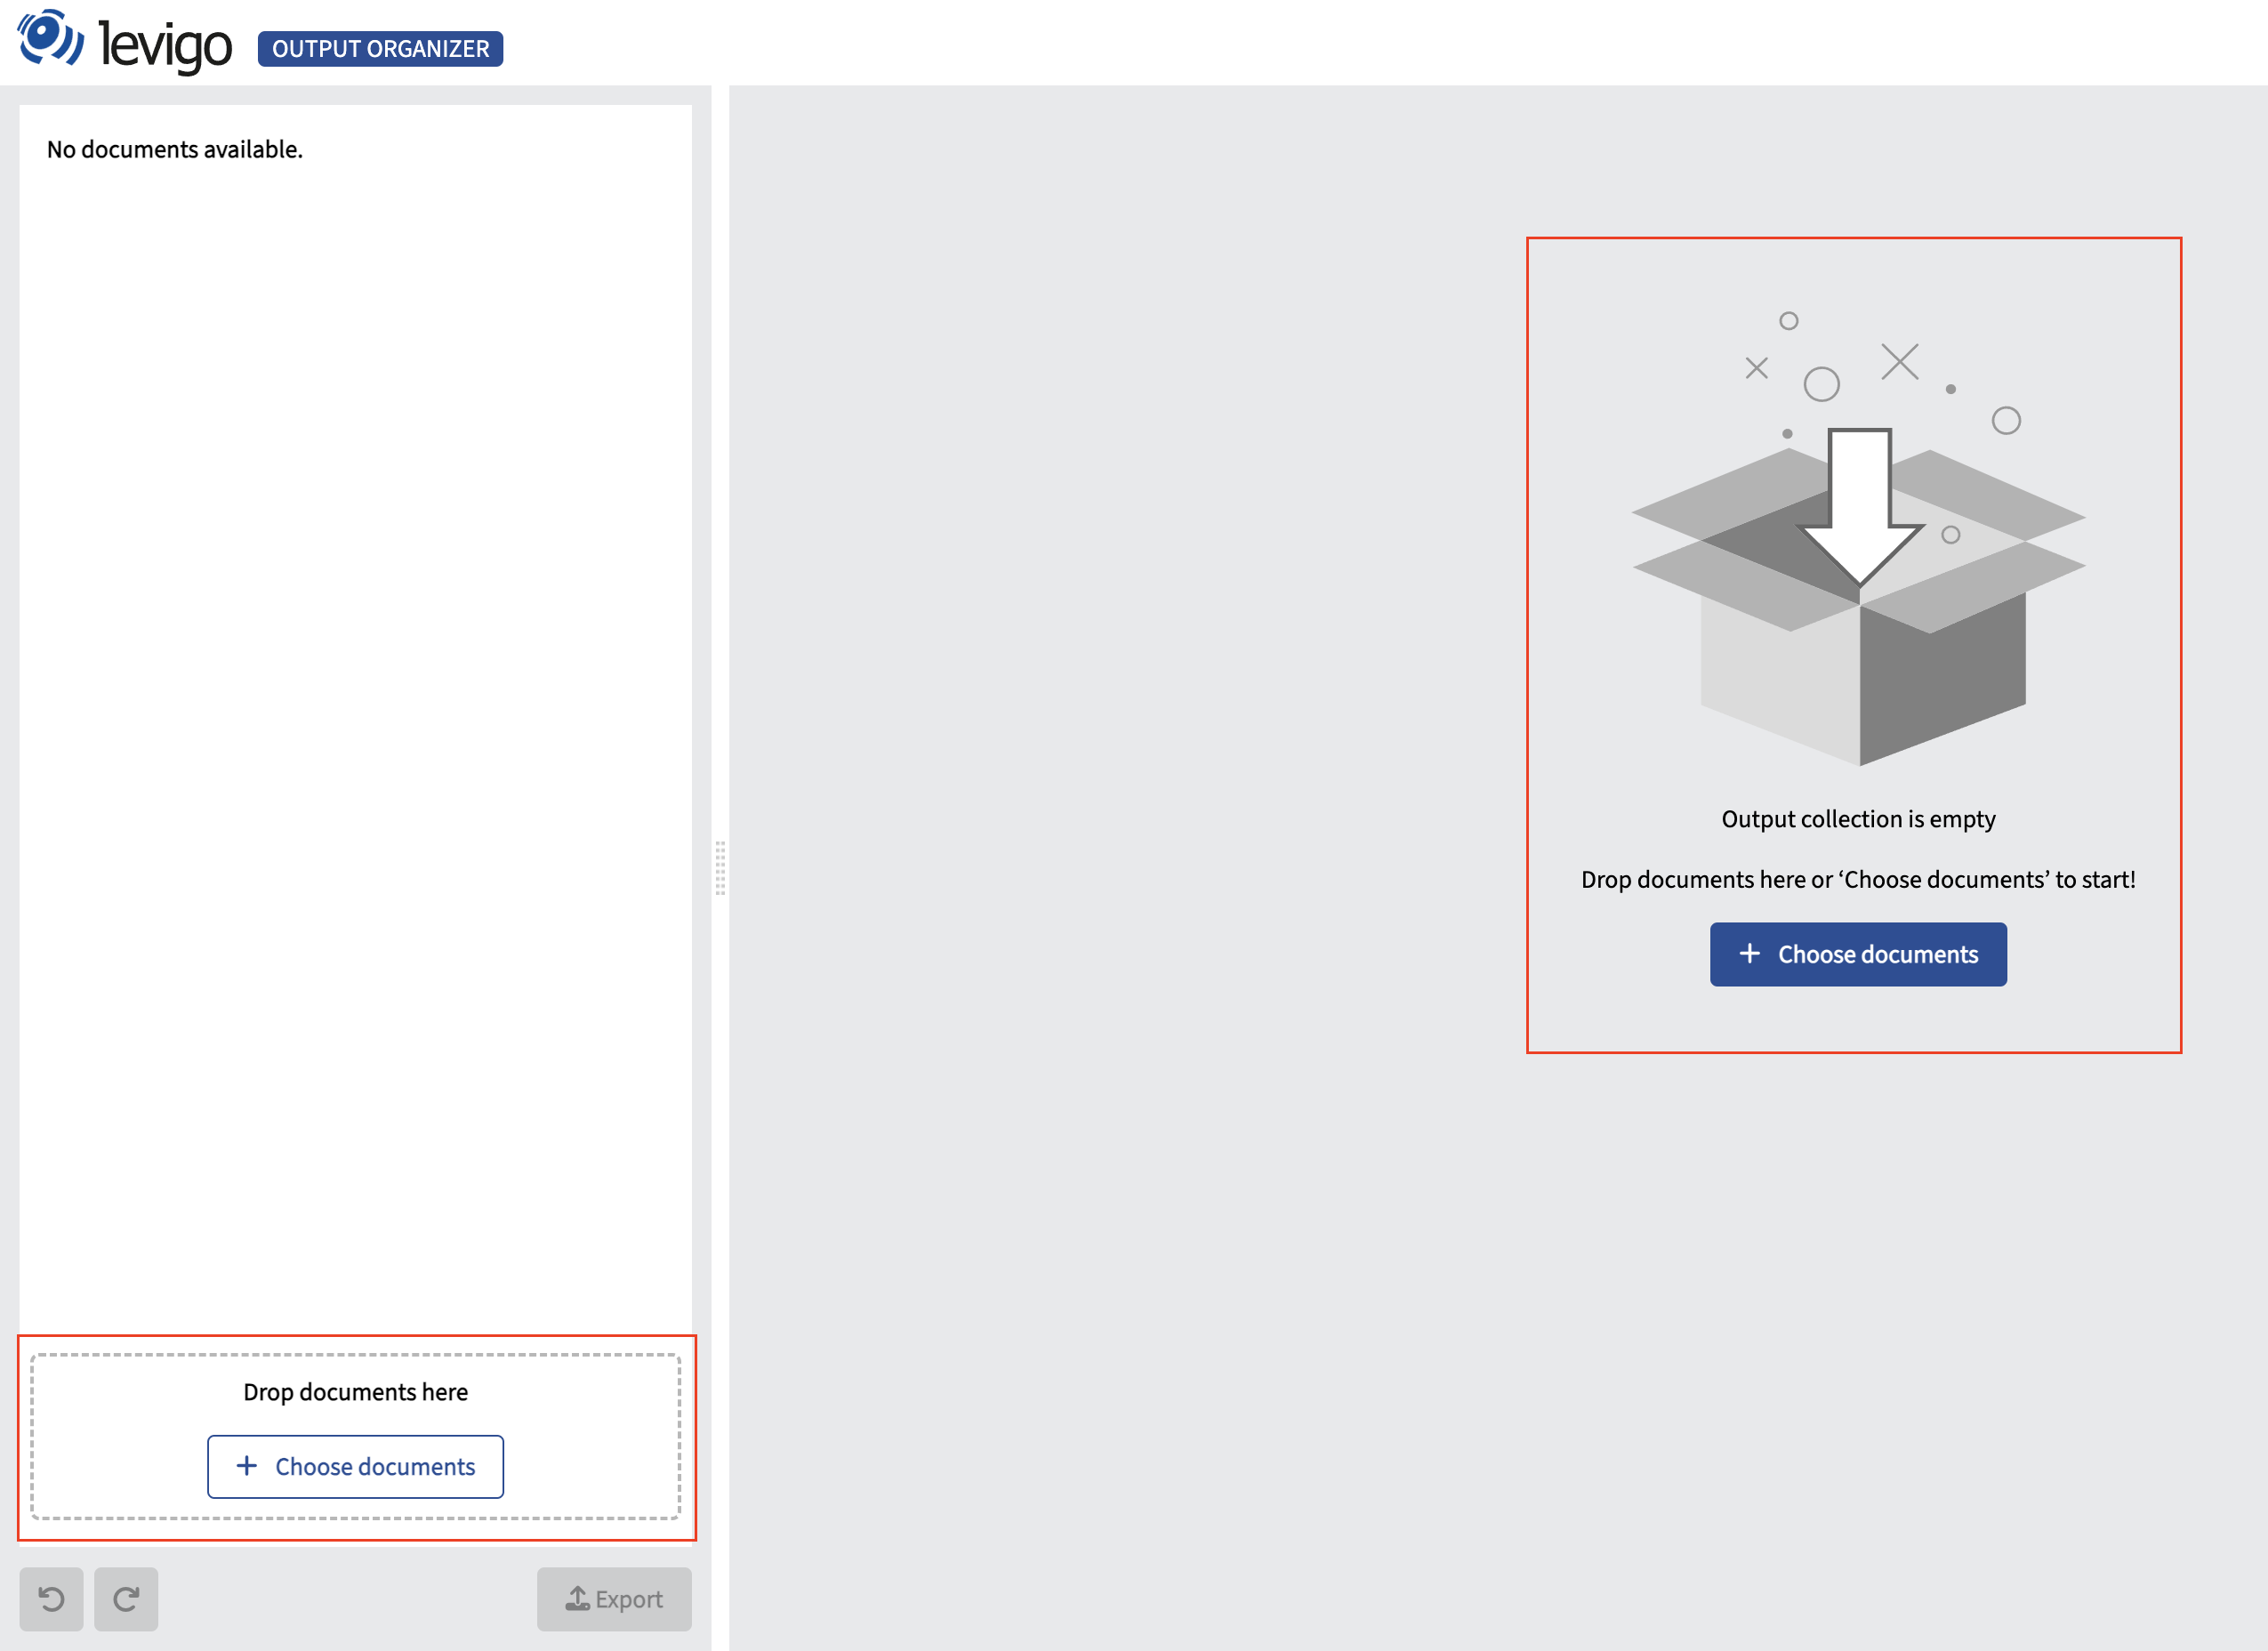
To start, drag and drop documents from anywhere into the application window or click on "Choose documents" to open a file explorer.
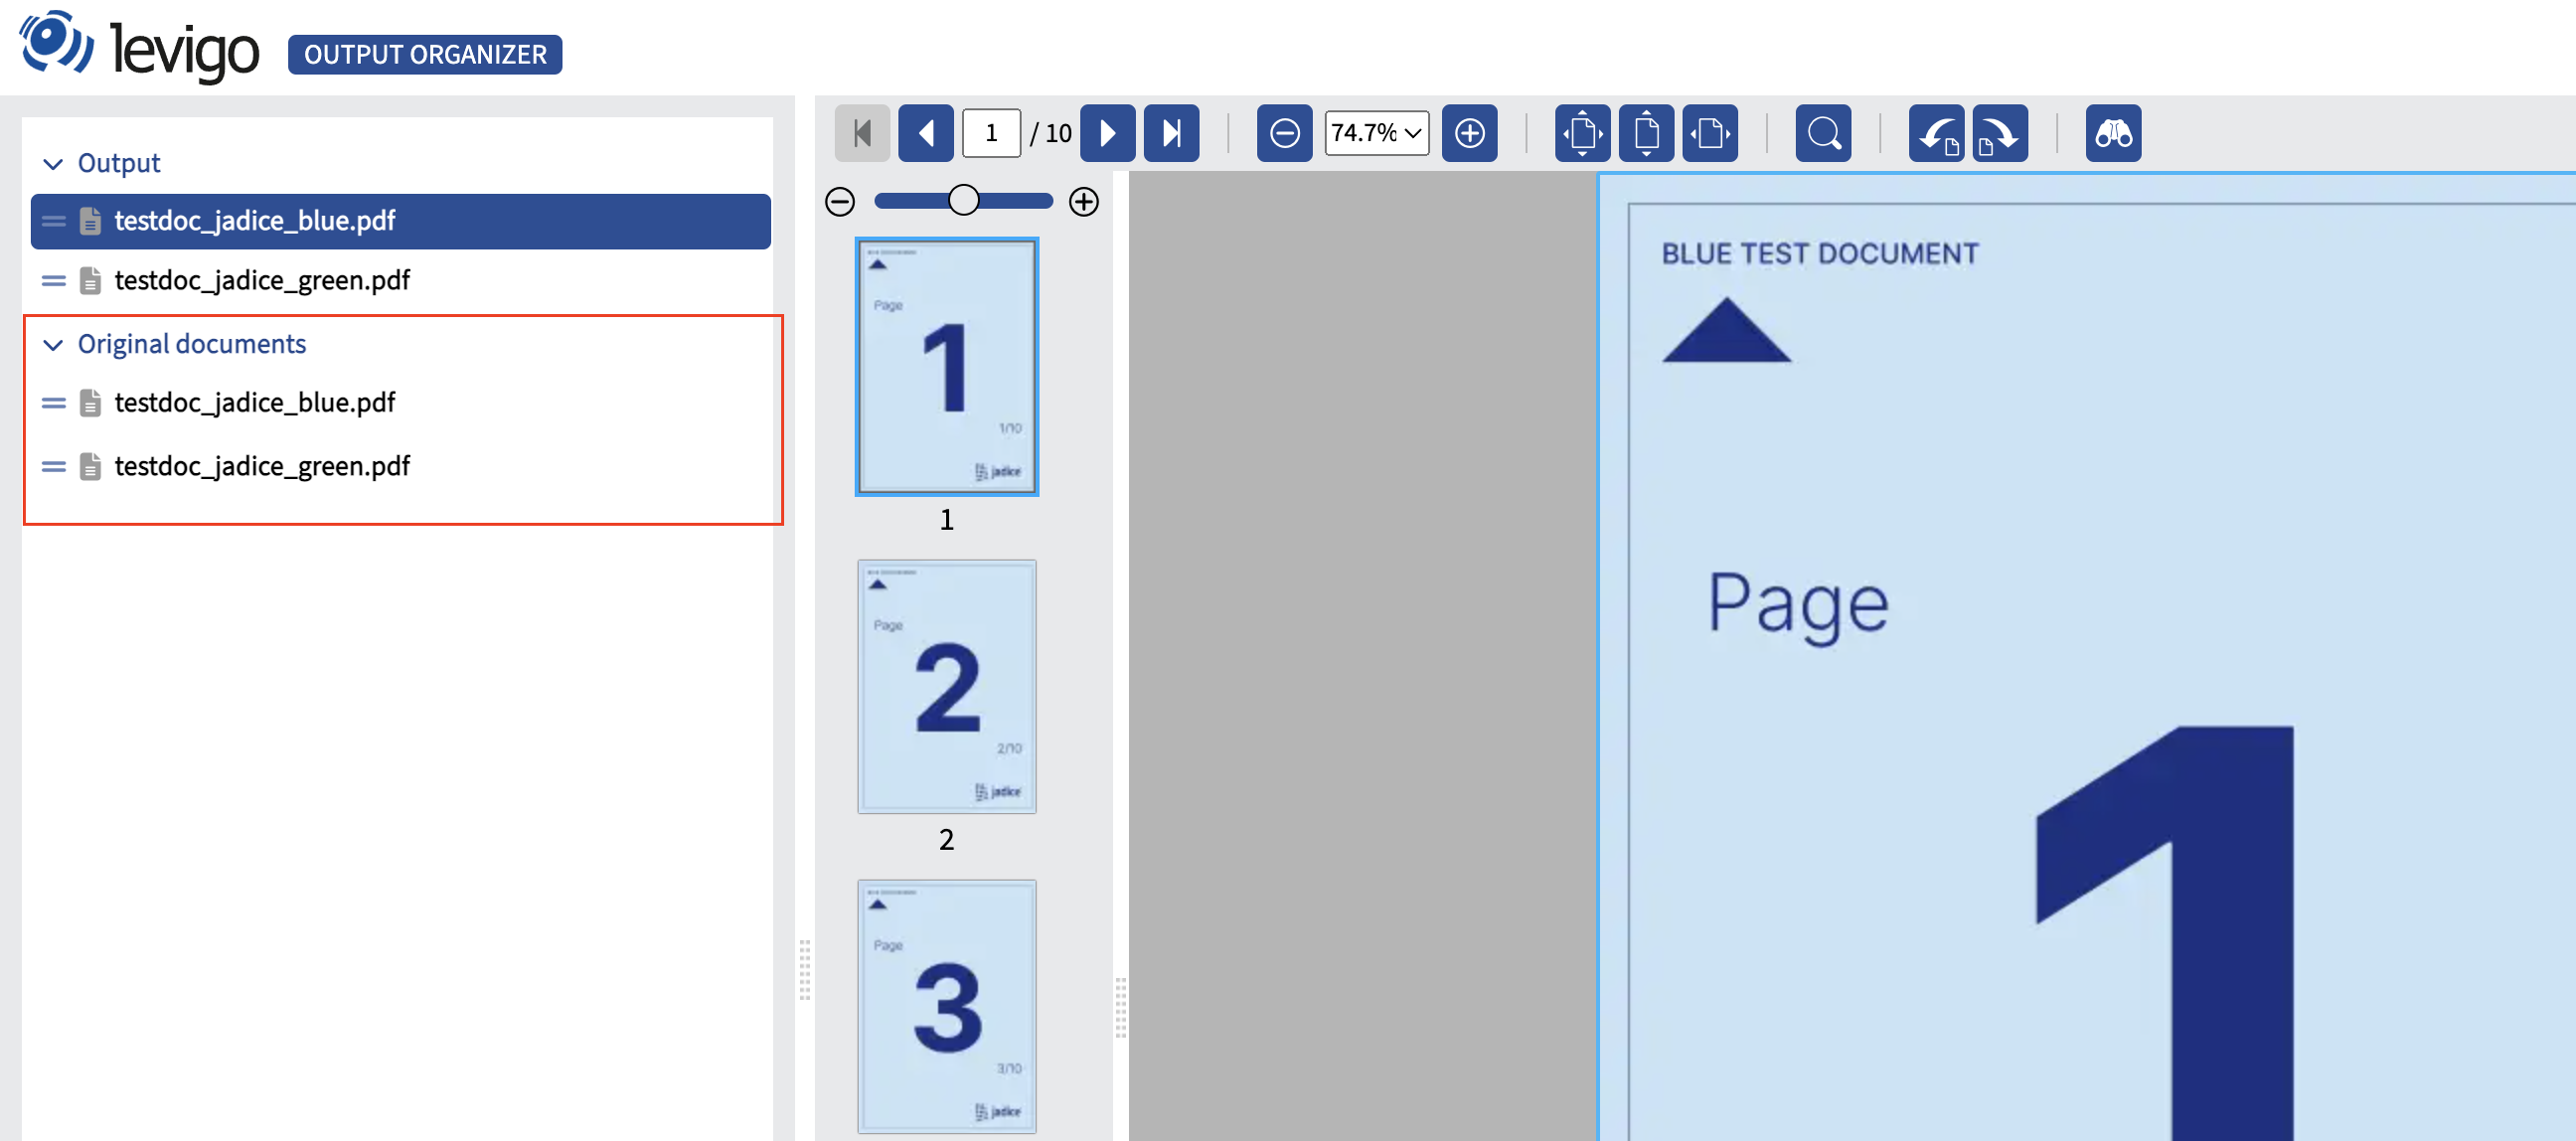
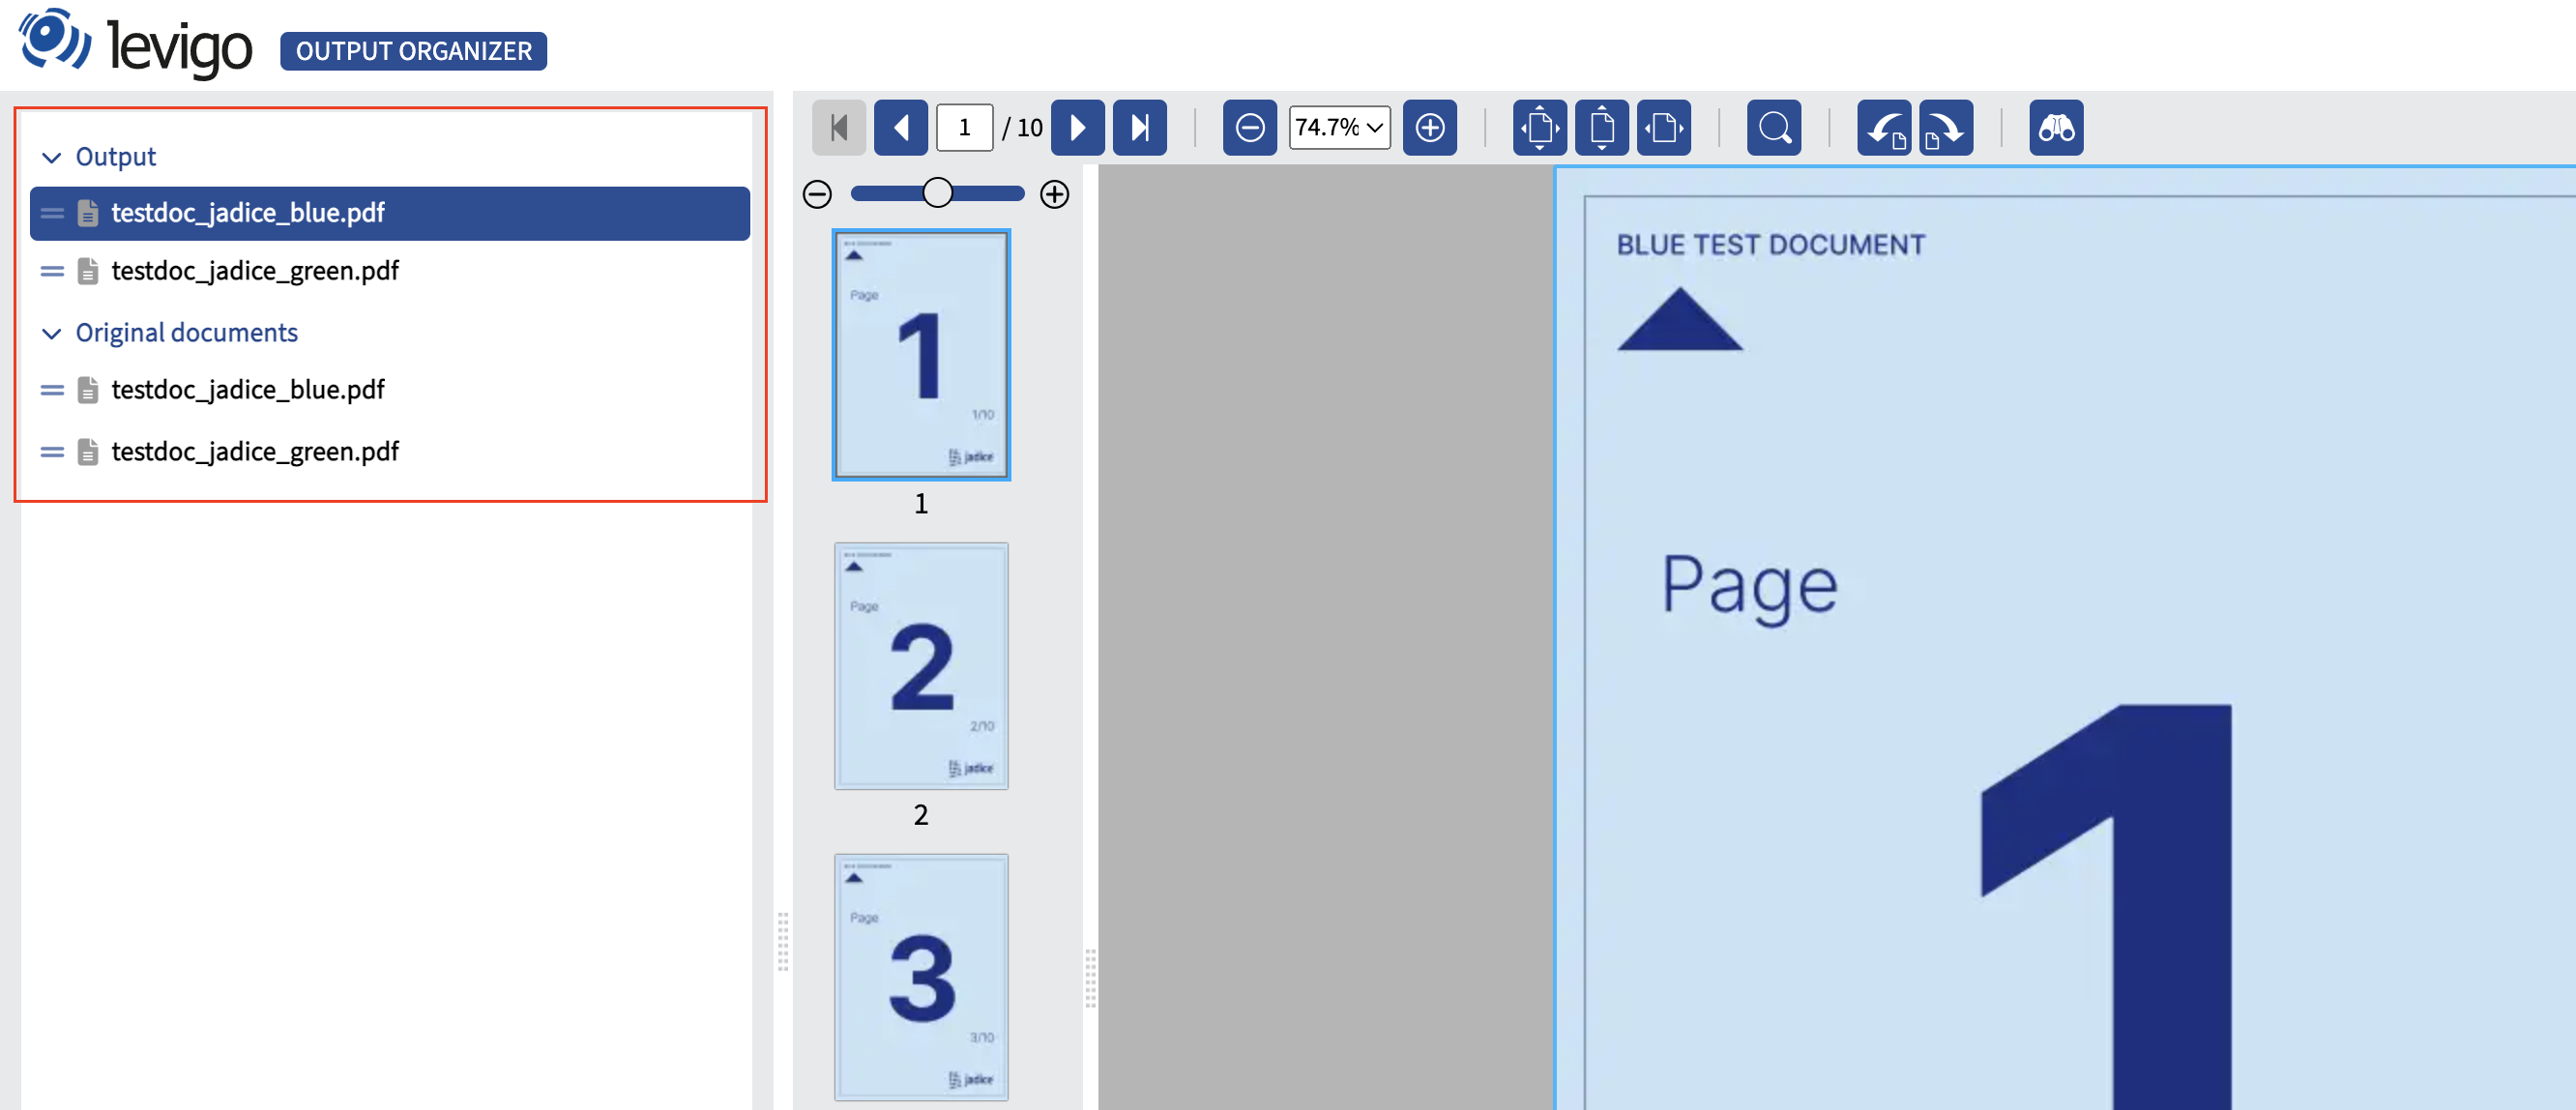
After the documents have been imported into the application, the documents appear on the left in the 'Output' branch of the Document List. The fist document is immediately displayed in the Viewer on the right.
Additional documents can be added to the output at any time. All imported documents are still available for comparison, unchangeable, in the 'Original documents' branch of the Document List.
Drag and Drop from jadice swing viewer
In some environments, a jadice swing viewer instance may already be present. Output Organizer provides a seamless "one-way" integration with jadice swing viewer, as you can drag and drop pages from jadice swing viewer to Output Organizer. Just drag any selected page from the thumbnail view of jadice swing viewer into the Output Organizer. The pages will immediately be imported to Output Organizer and presented as a new document.

After the drag and drop operation, the imported elements act like a regular document in Output Organizer and can be rearranged, annotated and so on.
Advanced Import Configuration ℹ️ Only available in Output Organizer ADVANCED
In the Advanced variant of Output Organizer, the import functionality can be configured to:
- Allow or disallow importing documents via drag-and-drop, import buttons, and from any jadice viewer (Disable local import and Drag & Drop for enhanced data protection)
- Customize allowed input formats beyond the standard set (PDF, AFP, MO:DCA, TIFF, JPEG, PNG)
For more details on configuring these options, refer to the installation and deployment guide.
Arrange documents
The documents in the Output List can be processed immediately after import.
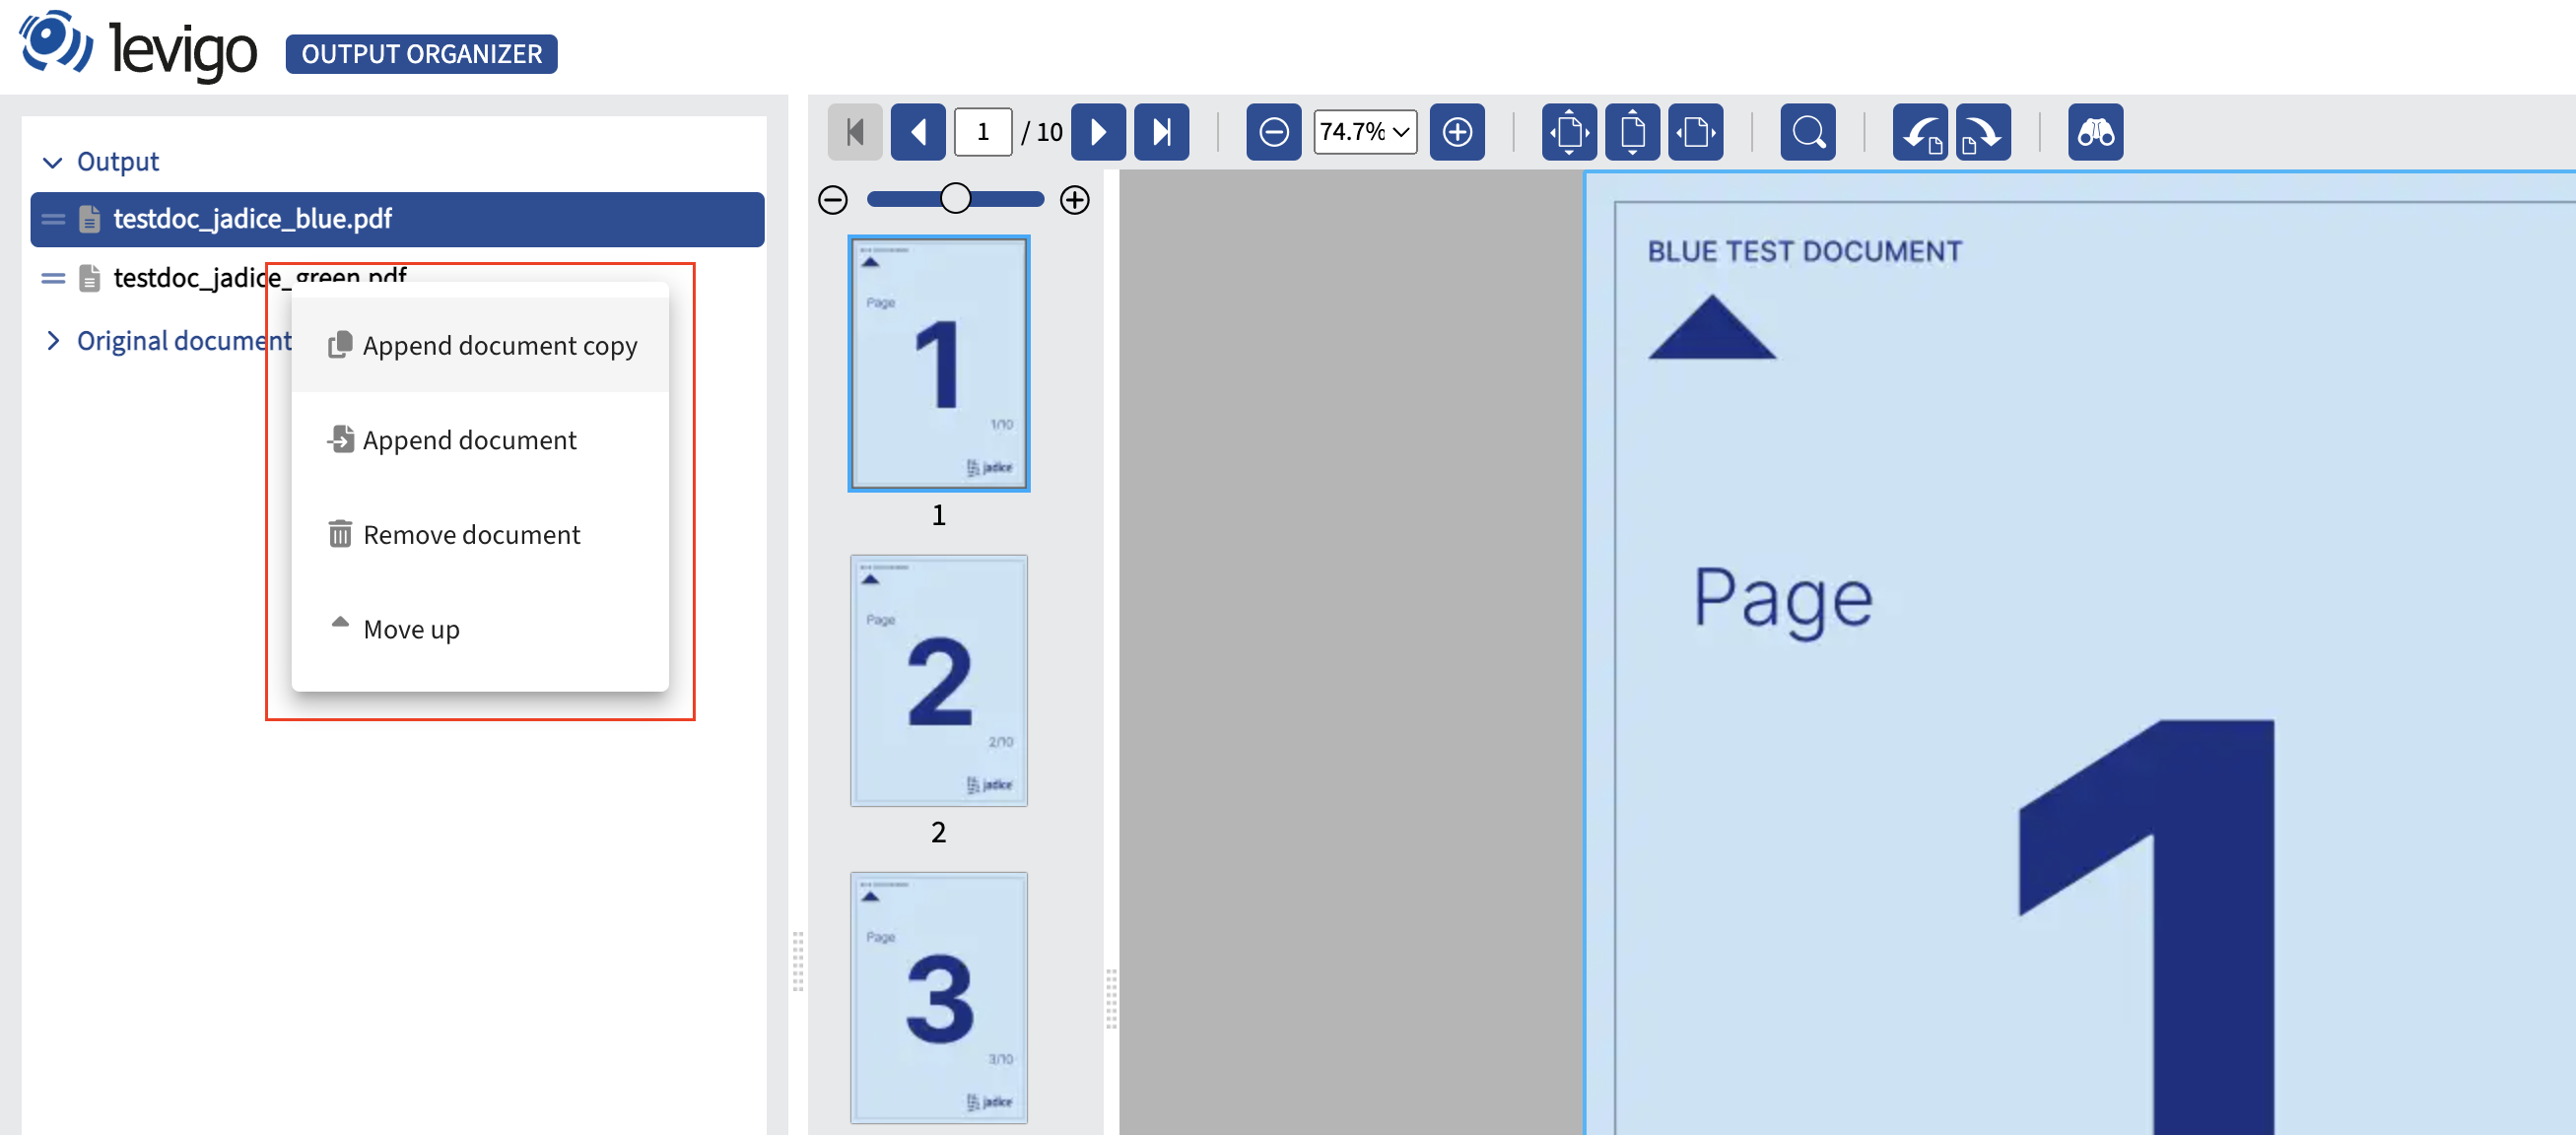
Reorder documents:
- by dragging documents up and down in the list
- by using the context menu
Append documents...
- by dragging them onto other documents to append all pages to the drop target. When pressing the CTRL key at the same time, the pages of the source document will be copied, not moved.
Arrange pages
Also, single or multiple pages in the thumbnail view can be copied/moved to a new document or removed with the selected pages context menu:
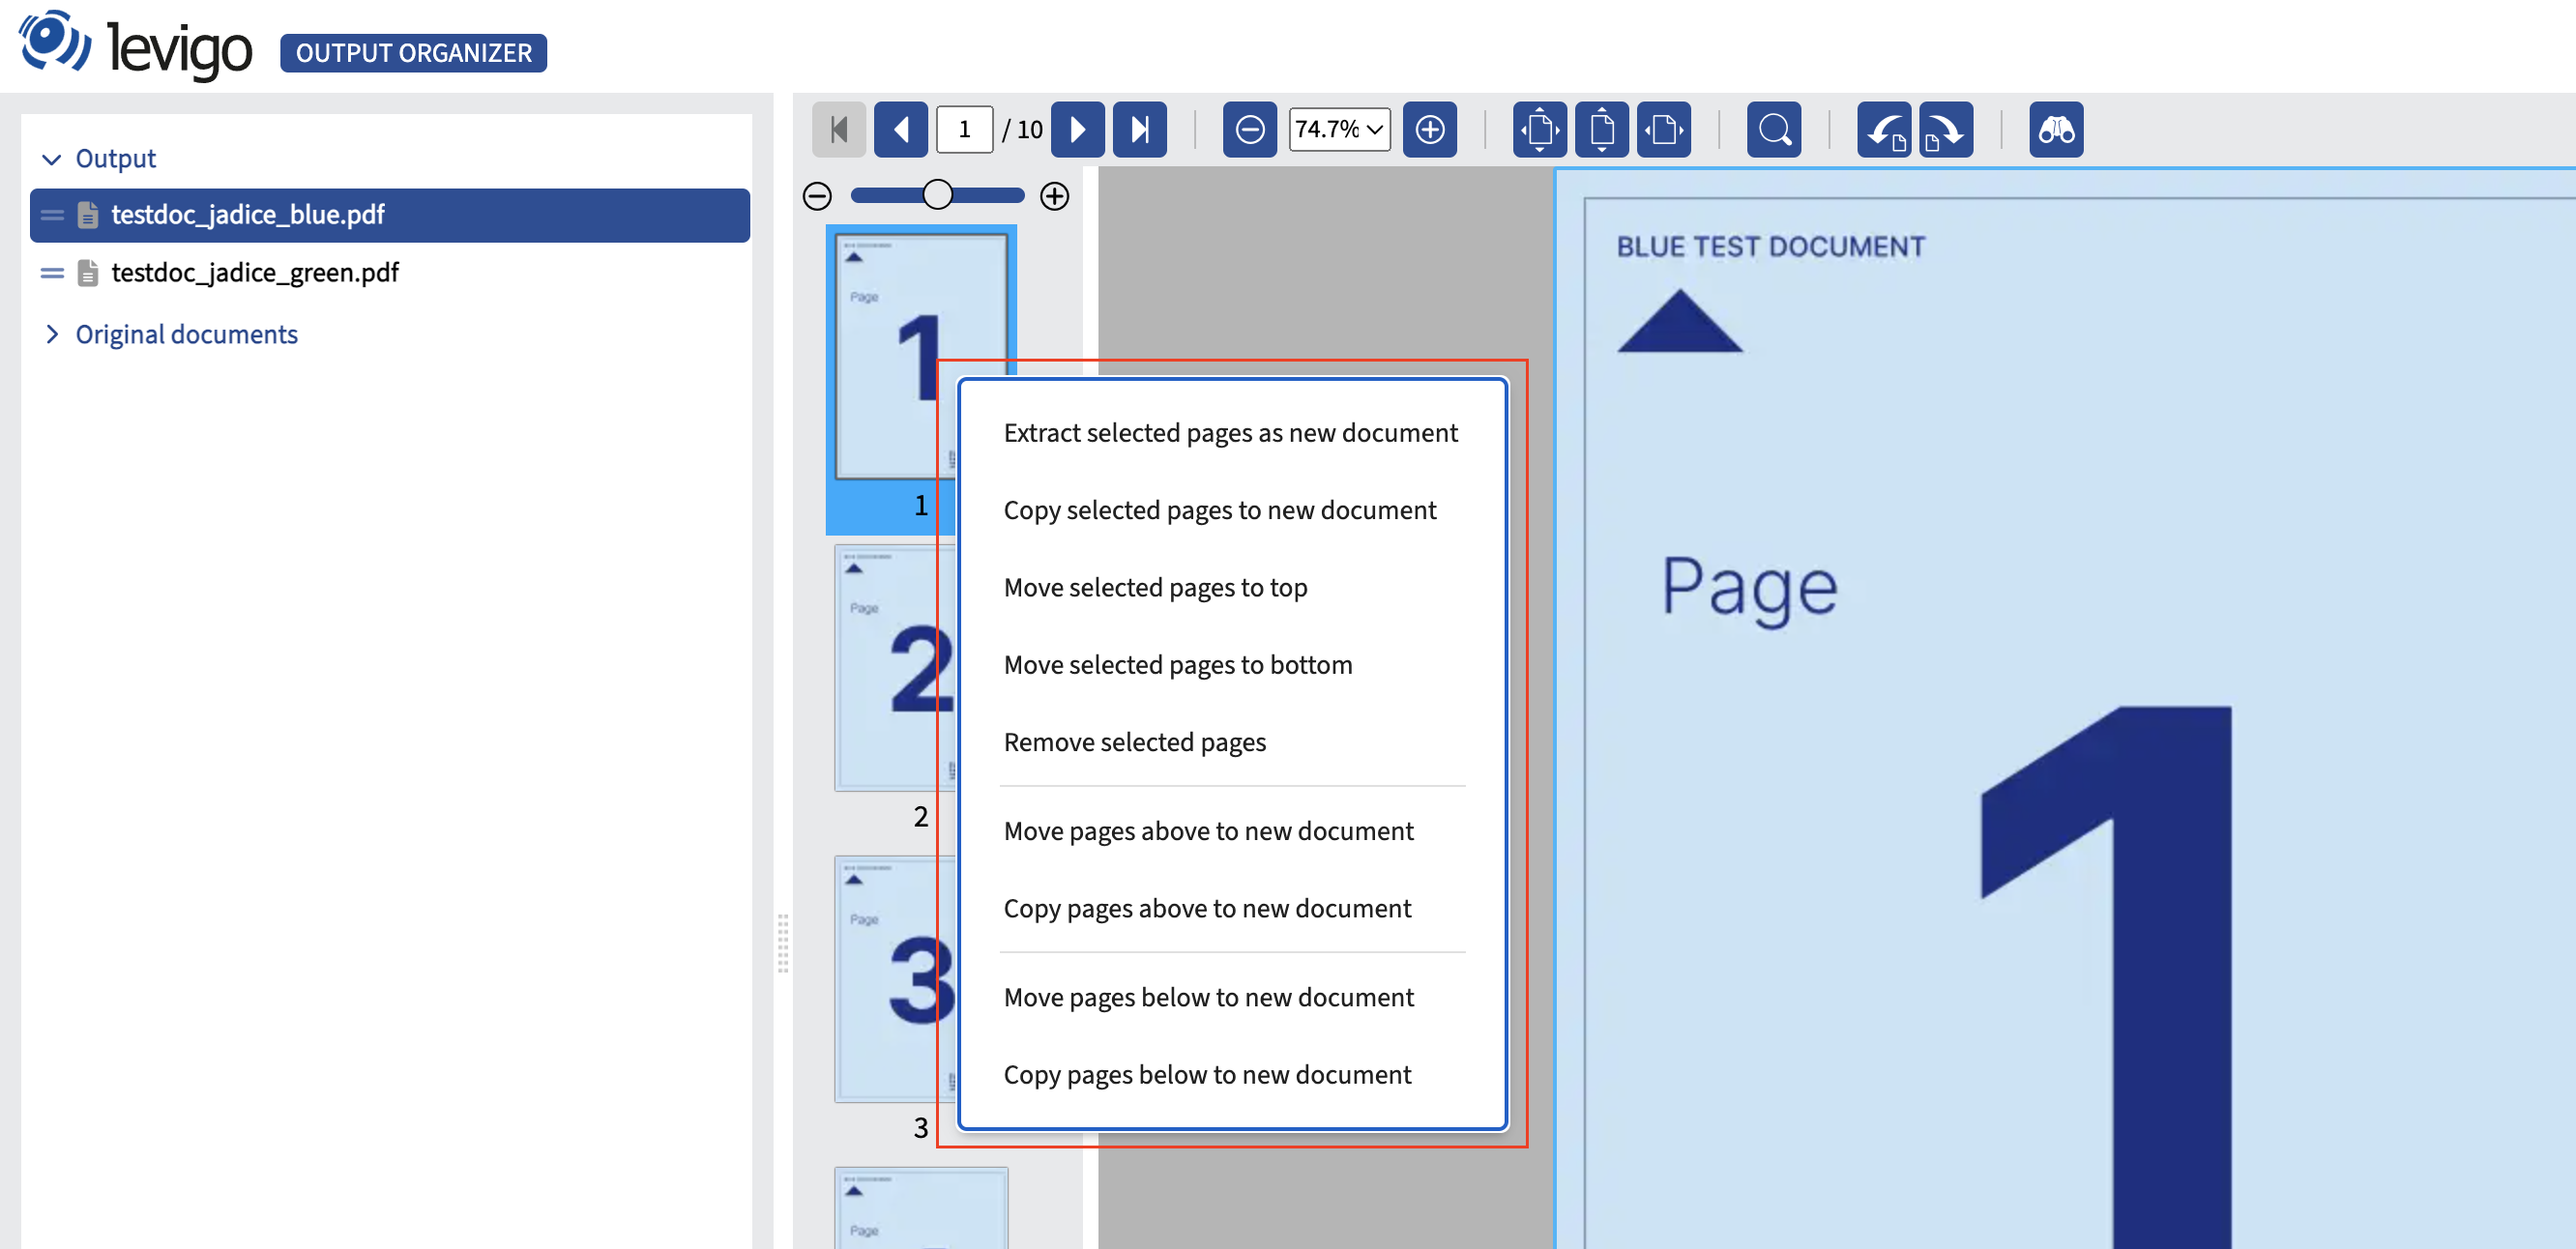
Selected thumbnail pages can also be handled via drag and drop. To do this, select one or more pages, drag them to the new position in the document or to another document in the list and and drop them at the desired location. With STRG copying is also supported instead of moving.
Annotate and redact documents
Documents can be provided with annotations and redaction. Existing annotations can be selected and edited by selecting them and using the functionality provided in their context menu.
To add annotations, simply use the annotation toolbar on the right:
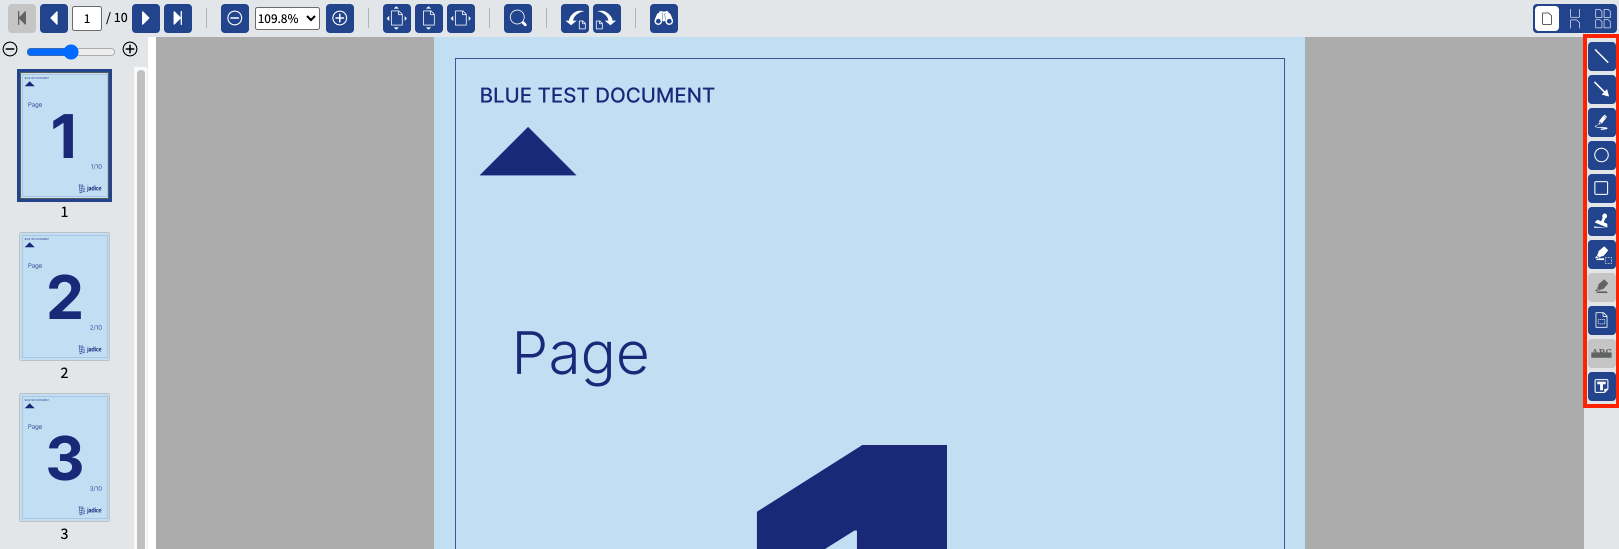
Double clicking an annotation button allows to create several annotations consecutively, until ESC is pressed.
Note: ℹ️ Customizable annotation types (e.g., highlight, stamp, pen, etc.) and their default properties (such as color, opacity, or style) are only available in Output Organizer ADVANCED.. In the ADVANCED variant, you can define which annotation types are available to users and set default properties for each type
| Icon | Result image | Description |
|---|---|---|
 |  | Area redaction: Hold and drag the left mouse button to specify the area to blacken |
 | 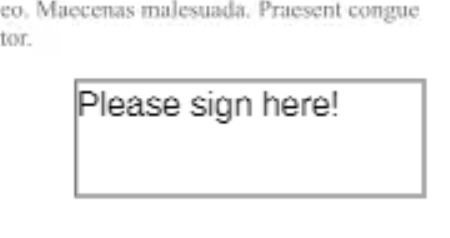 | Text annotation: Hold and drag the left mouse button to place the annotation. Enter text afterwards. |
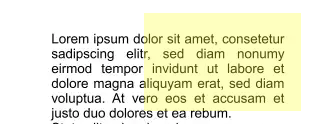
 |  | Text highlight: Select text by holding and dragging the left mouse button. Release the mouse button. Now the text is selected and the annotation button is enabled and can be applied. Voilà! Spans multiple lines, if desired. |
 |  | Text redaction (ℹ️ ADVANCED variant only): Select text by holding and dragging the left mouse button. Release the mouse button. Now the text is selected and the annotation button is enabled and can be applied. Spans multiple lines, if desired. |
 |  | Line: After pressing the given button, it allows the creation of a straight line. |
 |  | Arrow: After pressing the given button, it allows the creation of a straight arrow. |
 |  | Pen: After pressing the given button, you can draw any line. |
 |  | Ellipse: Allows creation of a circle or ellipse after the given button has been pressed. |
 |  | Rectangle: Allows creation of the rectangle after the given button has been pressed. |
 | 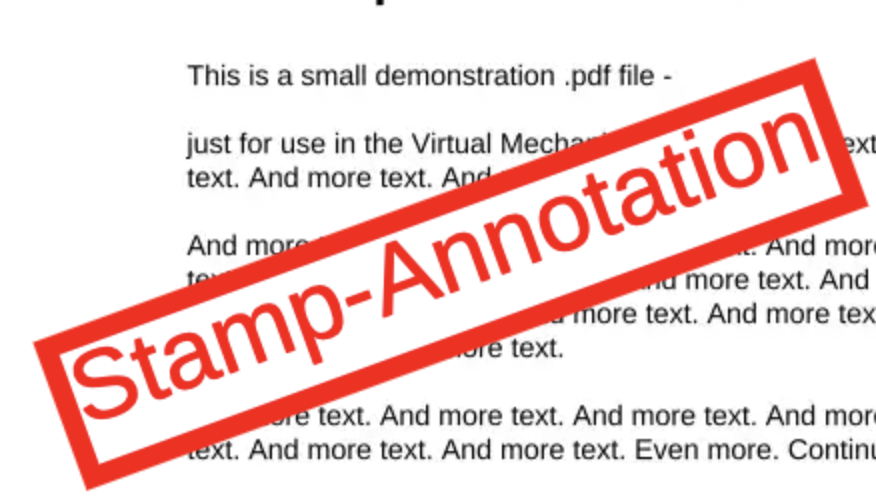 | Stamp: Allow creation of stamp annotation after the given button has been pressed. |
 |  | Highlighter: Allows highlighting multiple areas in dcoument |
 | 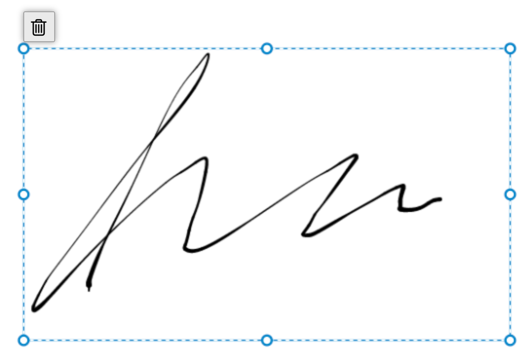 | Signature stamp (ℹ️ Add-on for Output Organizer ADVANCED): Place a pre-configured signature image onto the page. See Signature Stamps for how to configure the available signatures per collection. |
Note: ℹ️ Annotation sidebar (ADVANCED variant only): A toggle button opens a sidebar listing all annotations on the current document, allowing you to quickly jump to any of them. This feature is disabled by default and must be enabled via the viewer.annotationSidebarEnabled Helm value (see Deployment).
Toolbar functions
The functions in the toolbar are used to control the display of the pages. Pages can also be rotated here.
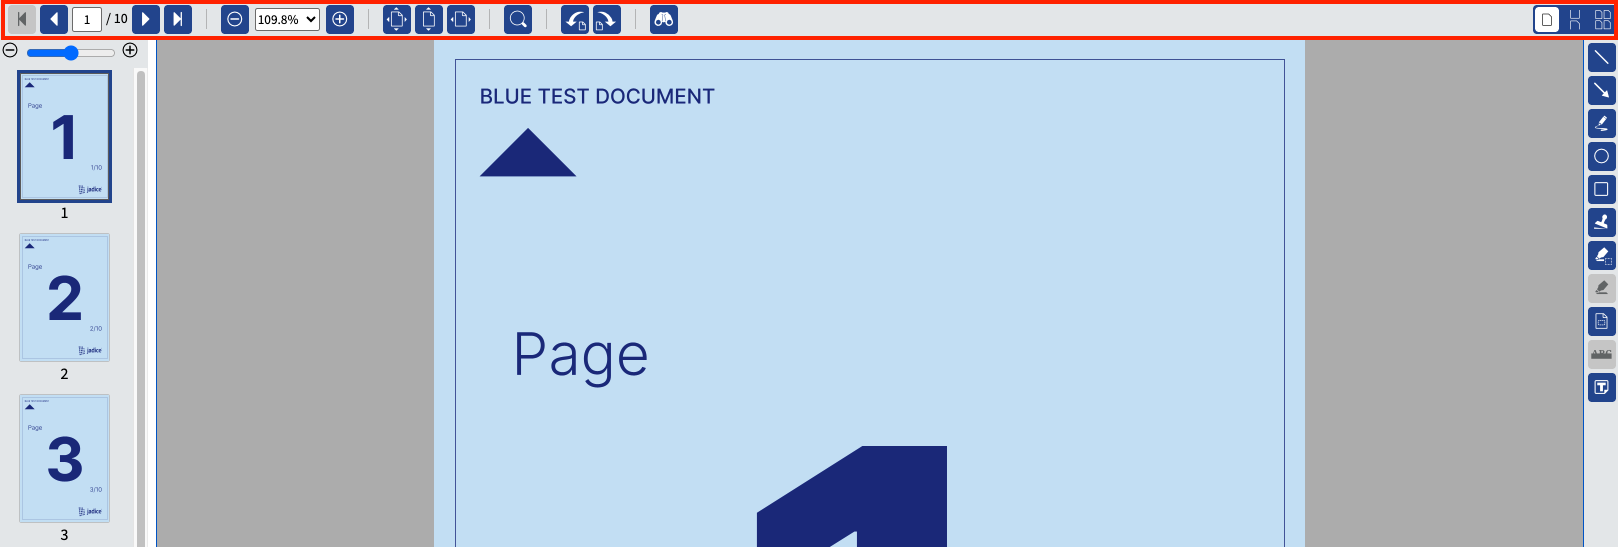
Let's pick some of the most important functions:
| Icon | Function | Description |
|---|---|---|
 | Adapt view | Scale the document to fit into the current viewer area (fit all, fit height, fit width) |
| Search | Find given text in the current document | |
| Layout | Adjust layout of the document pages (full page, continuous, grid) |
Other functions
| Icon | Function | Description |
|---|---|---|
 | Undo/Redo (ℹ️ ADVANCED variant only) | All changes to the documents can be undone with the 'Undo' function or restored with 'Redo'. |
 | Language | Switching the language is provided at the menu on the top right. |
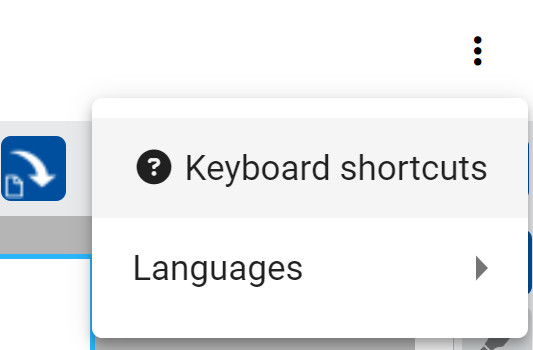 | Keyboard shortcuts | A large number of functions is accessible via Keyboard as well. The list of supported keyboard shortcuts can also be found at the menu on the top right. |
Export
The export generates a PDF document containing all documents in the output branch
- Exported Documents
- To export all documents in the tree, click the Export button. All documents in the output branch are exported.

- Export Order
- Documents are exported in the order they appear in the tree view.
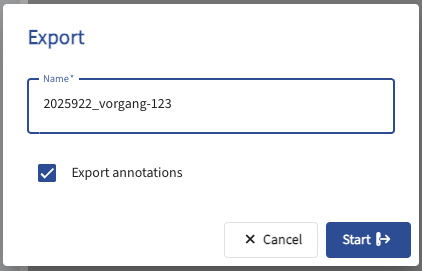
- Export Dialog
- To include annotations in the export, check the “Include Annotations” box (if
showAnnotationCheckboxis enabled). NOTE: Redactions are always applied in the export - even if Export annotations is not selected! - Set a custom file name in the “PDF File Name” field (if
showFilenameFieldis enabled) - Click Export to start.
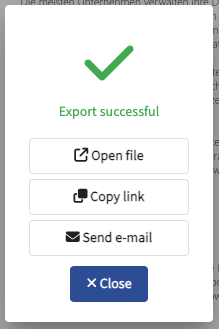
- Result
- A single PDF file containing the selected documents (and annotations, if chosen) is generated
- The file can either be opened directly, copied as a download link, or sent by email (if
showOptionsInResultMessageis enabled).
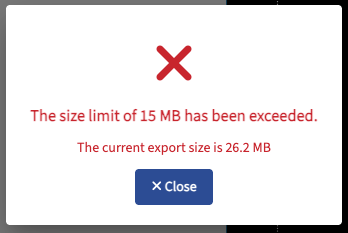
 5. Error Handling
- If the PDF size exceeds
sizeLimit, an error appears:
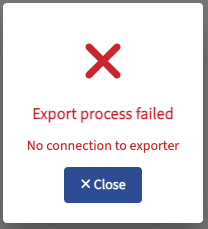
- If the controller or worker is not running, the UI shows:
Further Features
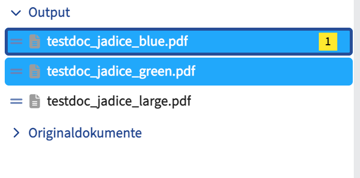
Multi-Selection
The multi‑selection feature allows selecting multiple documents in the tree view for batch operations such as export.
- Select Multiple Documents
- Hold the
Ctrlkey (orCmdon Mac) and click on individual documents to select or deselect them. - Hold the
Shiftkey and click to select a range of documents between the first and last clicked item. - Press
Ctrl + A(orCmd + Aon Mac) to select all documents in the current view. - Visual Feedback
- Selected documents are highlighted in the tree view to indicate their selection status.
- Batch Operations
- Once multiple documents are selected, batch operations e.g., deletion can be performed on all selected items simultaneously